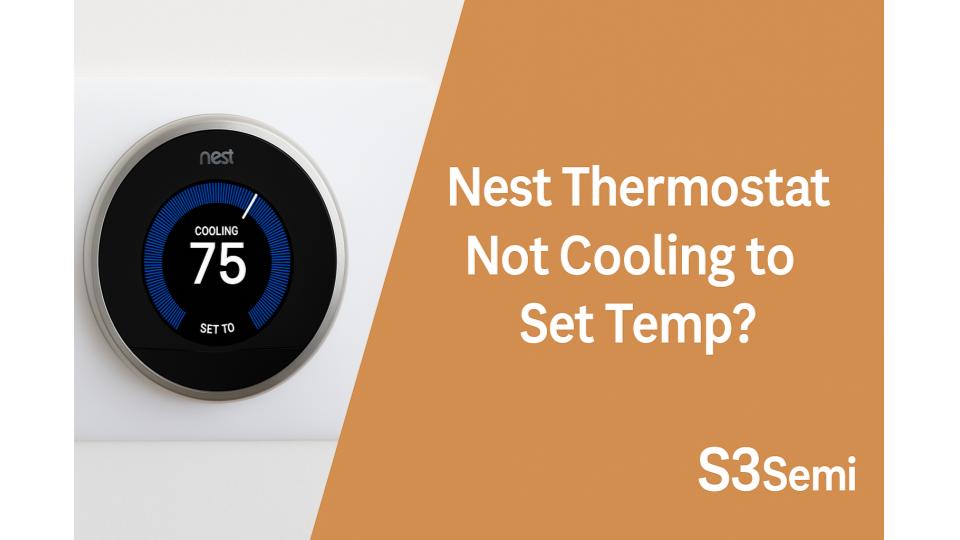
If your Nest thermostat isn’t cooling to the set temperature, you’re not alone. Many users face this frustrating issue, and it can leave your home feeling uncomfortable. Understanding the reasons behind this problem can save you time and money, and help you get back to enjoying a perfectly balanced indoor climate.
Common Reasons For Nest Not Cooling To Set Temp
Understanding why a Nest thermostat does not cool to the set temperature helps users quickly address the issue. Here are some common reasons for this problem.
🏠 Improper Thermostat Placement
Large objects or direct sunlight near the thermostat can affect temperature sensing. Placing the thermostat on an interior wall away from windows and vents ensures accurate readings.
🧊 Dirty Air Filters
Blocked or dirty air filters restrict airflow. Checking and replacing air filters every 1-3 months on average allows for optimal cooling and system efficiency.
❄️ Insufficient Refrigerant
Low refrigerant levels hinder cooling. An HVAC technician can check and recharge the refrigerant as necessary. Regular maintenance ensures the system runs correctly.
🔌 Faulty Wiring
Loose or damaged wires disrupt power supply and communication. Inspecting wiring connections and ensuring safety is important. Hiring a professional may prevent further issues.
💻 Nest Software Issues
Software glitches can cause malfunctions. Restarting the Nest thermostat or updating the firmware may resolve these issues. Accessing settings through the Nest app enables easy updates.
Troubleshooting Steps
Troubleshooting the Nest thermostat not cooling to the set temperature involves simple checks first before moving on to more complex solutions.
🔍 Check Thermostat Settings
- Verify set temperature on the display.
- Ensure the cooling mode is selected.
- Adjust the temperature schedule if necessary.
- Confirm the hold temperature feature isn’t activated.
💻 Update Nest Software
- Ensure the thermostat connects to Wi-Fi. A stable connection allows software updates.
- Manually check for updates. Navigate to Settings > Software > Update in the Nest app or thermostat display. Keeping software up-to-date can solve performance issues and improve functionality.
🛠️ Inspect Air Filters
- Inspect air filters for dirt and debris.
- Replace filters every 1 to 3 months for optimal airflow.
- Clean reusable filters according to manufacturer guidelines.
⚙️ Verify HVAC System Components
- Examine the circuit breaker for any tripped switches.
- Confirm the air conditioner runs properly outside.
- Check thermostat wiring, especially the C-wire connection.
- Inspect vents for obstructions, ensuring airflow is not blocked.
🔁 Restart The Nest Thermostat
Simple Restart Steps
Restarting the Nest thermostat can resolve many issues related to cooling. Follow these simple steps:
- Press and hold the thermostat ring. Holding it down for about 10 seconds results in a reboot.
- Wait for the Nest logo to appear. This indicates that the device is restarting.
- Release the ring. Allow the device to reset completely and return to the main display.
Advanced Restart Steps
If the initial restart does not fix the cooling issue, proceed with these advanced steps:
- Navigate to Settings. Turn the thermostat ring to access the settings menu.
- Select Reset. Scroll to find the reset option within the settings menu.
- Choose Restart. This option initiates a more thorough restart process, which may resolve deeper software issues.
Factory Reset Option
As a last resort, performing a factory reset may restore functionality:
- Select Settings from the main menu. Turn the ring until you reach the Settings icon.
- Navigate to Reset. Find the reset options through the settings menu.
- Choose Factory Reset. This action removes all settings and returns the thermostat to its original state, so ensure to reconfigure after this process.
❄️ Call A Professional For Refrigerant Issues
- Reach out to a certified technician. Refrigerant issues often require professional knowledge. A technician can assess refrigerant levels and check for leaks.
- Schedule regular maintenance. Annual system checks help avoid potential problems and ensure your HVAC system operates optimally.
By following these steps, you can address common issues that affect cooling efficiency in Nest thermostats.
Maintenance Tips For Optimal Cooling
Regular maintenance plays a important role in ensuring the Nest thermostat operates efficiently. Implementing these tips helps maintain optimal cooling performance.
🧹 Regularly Check Air Filters
Regular checks on air filters improve air quality and cooling efficiency. Inspect air filters monthly and clean or replace them every 1 to 3 months. Clogged filters restrict airflow, making the cooling system work harder. Clean reusable filters by following manufacturer instructions for maximum effectiveness.
🛠️ Schedule HVAC Maintenance
Scheduling professional HVAC maintenance assists in identifying potential issues before they escalate. Aim for biannual inspections—once in the spring and once in the fall. Technicians assess system health, check refrigerant levels, and ensure all components operate correctly. Routine maintenance prevents larger problems and keeps cooling systems efficient.
🧼 Keep External Units Clean
Keeping external units clean enhances airflow and cooling performance. Clear debris, leaves, and dirt around the outdoor unit regularly. Ensure at least 2 feet of clearance on all sides to prevent blockages. Check for ice buildup during colder months, as this can hinder cooling effectiveness.
Key Takeaways
- Verify Thermostat Settings: Ensure the cooling setting and desired temperature are correctly configured on your Nest thermostat to avoid cooling issues.
- Inspect Air Quality: Regularly check and replace air filters to maintain optimal airflow, as dirty filters can significantly hinder cooling efficiency.
- Check HVAC Functionality: Confirm that the air conditioning unit is functioning correctly and that the circuit breaker hasn’t tripped, as power issues can disrupt cooling.
- Evaluate Location: Assess the thermostat’s placement; positioning it away from direct sunlight and heat sources ensures accurate temperature readings.
- Consider Professional Help: For persistent problems, such as low refrigerant levels or faulty wiring, consulting a certified technician can resolve complex issues effectively.
- Perform Regular Maintenance: Schedule routine HVAC inspections and keep the outdoor unit clean to maintain efficient cooling performance of the system.
Conclusion
Dealing with a Nest thermostat that won’t cool to the set temperature can be frustrating. By following the troubleshooting steps and maintenance tips outlined in this article, I can regain control over my indoor comfort. Regular checks and simple adjustments can make a significant difference in performance.
If I find that the problem persists despite my efforts, seeking professional help is always a smart move. Staying proactive with maintenance and understanding my thermostat’s functionality ensures that I can enjoy a consistently cool home. With a little patience and the right approach, I can tackle these cooling issues effectively.