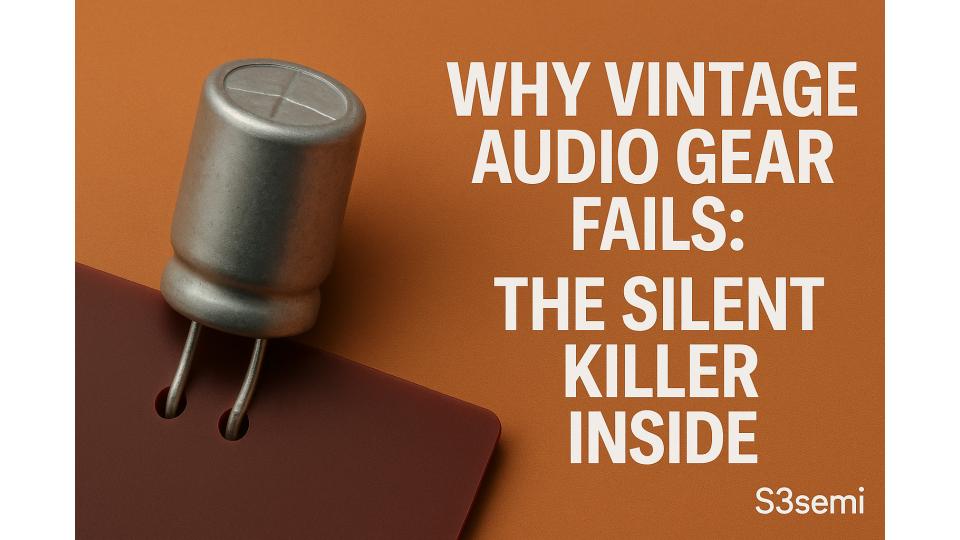
📻 Vintage amplifiers, receivers, and cassette decks are prized for their warm sound and craftsmanship. But inside, a ticking time bomb—aging electrolytic capacitors—can quietly degrade performance until your beloved gear fails.
🧪 What Electrolytic Capacitors Do
These components store and smooth electrical energy in audio circuits. In vintage gear, they’re found in:
- Power supply filtering
- Signal coupling
- Crossover networks in speakers
🔍 Symptoms of Failing Caps
- Noticeable hum or hiss
- Loss of bass or muffled sound
- Intermittent channel dropouts
- Visible bulging or leakage on the capacitor body
🛠 How to Test and Replace
- Visual Inspection – Look for swelling tops or dried residue.
- Measure ESR – An ESR meter reveals internal resistance—higher values mean a bad cap.
- Desolder and Replace – Match capacitance (µF) and equal or higher voltage rating.
- Use Quality Replacements – Choose audio-grade capacitors from trusted brands.
Reddit Repair Story: One user fixed chronic crackling in a 70s receiver by recapping its power supply and preamp boards—restoring like-new performance.
📌 Prevention Tips
- Store gear in a cool, dry place.
- Power it up occasionally to keep capacitors “formed.”
- If you hear new hum or distortion, check the caps before the damage spreads.
⚠ Safety Warning
Capacitors can hold dangerous voltage even when unplugged. Discharge them safely before working inside.