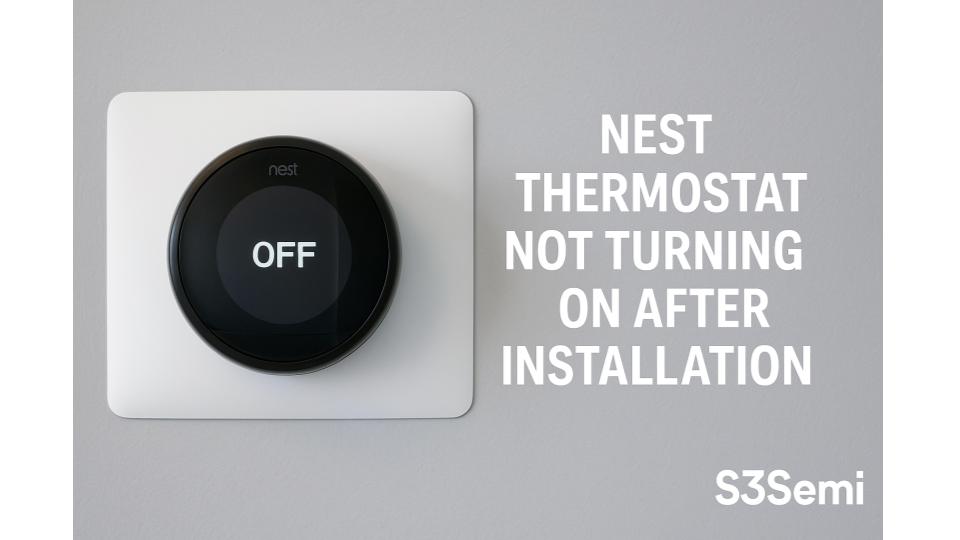
I’ve seen plenty of people excited to upgrade to a Nest thermostat only to find it won’t turn on after installation.
If your Nest thermostat stays blank after setup it doesn’t always mean it’s broken. Sometimes the issue is something simple like wiring or power supply. I’ve learned that a few quick checks can often get it working again without needing professional help.
In this article I’ll walk you through common reasons why your Nest thermostat might not turn on and easy steps to fix it.
Materials and Tools Needed
Preparing the right tools and following safety steps keeps the Nest thermostat installation on track. Here are what the task requires.
List of Required Tools
- Screwdriver set for wall plate screws and terminal screws
- Multimeter for checking voltage and continuity
- Wire stripper or cutter for adjusting wire lengths
- Level to align the thermostat correctly
- Drill with appropriate bits if new holes are needed
- Nest thermostat installation guide for reference
Safety Precautions
- Turn off power at the breaker panel before handling wiring to avoid shocks
- Use insulated tools to protect against accidental current
- Confirm power is off using a multimeter before touching wires
- Work in a dry area with good lighting to prevent slips or errors
- Avoid forcing wires or components to prevent damage to equipment
- Follow local electrical codes and manufacturer instructions strictly
✅ Initial Checks After Installation
Start by checking the basics right after installing the Nest thermostat. These steps help identify common and simple issues before moving to advanced fixes.
🔌 Verify Power Supply to the Thermostat
Confirm the thermostat has power by checking the circuit breaker. If the breaker is off flip it on. Inspect the C-wire connection because it provides constant power. Use a multimeter to check voltage between Rh and C terminals. Proper voltage typically reads 24 volts. If there is no power the thermostat won’t turn on.
🔧 Ensure Proper Wiring Connections
Check each wire connection matches the Nest installation guide. Look for loose, disconnected, or misrouted wires. Use a screwdriver to secure any loose terminals. Double-check that wires go to correct terminals labeled for heating cooling fan or common. Incorrect wiring often causes no power or blank screen.
⚙️ Confirm Compatibility with HVAC System
Verify the HVAC system model matches Nest compatibility requirements. Refer to Nest’s official compatibility checker online. Certain systems like high voltage or proprietary controls might not work with Nest. If the system is incompatible the thermostat may not power up or control HVAC functions correctly.
📝 Step-by-Step Troubleshooting Guide
Follow these clear steps to identify why the Nest thermostat does not turn on after installation. Start with simple checks and move to more complex fixes.
🔌 Check the Circuit Breaker and Fuse
First, inspect the circuit breaker panel for tripped breakers or blown fuses related to your HVAC system. Flip any tripped breaker fully off and then on again. Replace a blown fuse with one matching the same rating. Loss of power here often causes the Nest thermostat to remain off.
⚡ Inspect the HVAC System’s Power Source
Examine the HVAC system’s power source to ensure the transformer supplies constant 24V power. Verify the C-wire connection on the Nest base plate is secure. Without a functional C-wire, the Nest thermostat cannot maintain power and won’t turn on.
🔄 Reset the Nest Thermostat
Perform a factory reset by holding down the thermostat ring for about 10 seconds until the screen turns off and then on again. Resetting clears minor software glitches that may prevent startup. If reset doesn’t help, proceed to reinstalling.
🔧 Remove and Reinstall the Thermostat
Gently remove the Nest thermostat from the base plate. Check wiring connections under the base plate for looseness or incorrect routing. Reattach the thermostat ensuring it snaps firmly into place. Loose or poorly seated connections often cause power issues.
📱 Check for Software Updates
After the Nest powers on, check for software updates via the settings menu or Nest app. Installing updates fixes bugs or compatibility problems that sometimes cause startup failures. Connect to a strong Wi-Fi signal to complete the update.
⚡ Advanced Troubleshooting Techniques
Advanced troubleshooting helps find hidden issues that basic checks might miss. These steps focus on power delivery, app diagnostics, and system resets.
🧰 Test the C-Wire for Continuous Power
I verify the C-wire voltage using a multimeter set to measure AC voltage. The C-wire should supply 24V continuously when the system is off. If voltage drops below 20V or is intermittent the thermostat may not turn on. Confirm the wiring terminals are clean and tightly connected. Replace the C-wire if voltage remains unstable as it provides essential power for the Nest thermostat.
📱 Use the Nest App for Diagnostic Information
I open the Nest app and connect it to the thermostat via Wi-Fi. The app reports hardware status, power levels, and any detected errors. I check for low battery warnings or connection problems that explain the power issue. The app also suggests actions such as resetting or updating software to fix startup failures. Using the Nest app speeds up pinpointing the exact fault.
🔄 Perform a Factory Reset
I press and hold the thermostat ring for about 10 seconds until the screen goes blank. A factory reset clears all custom settings and restores default software. This step solves software glitches that block startup. I only perform this after verifying all wiring and app diagnostics show no fixes. After reset I reconfigure the thermostat through the Nest app for fresh operation.
Common Issues and Solutions
Troubleshooting problems after installing a Nest thermostat can restore its proper function quickly. Focus first on simple fixes and then explore more complex solutions if needed.
🔲 Thermostat Display Not Turning On
Check the circuit breaker to ensure power is flowing. Confirm the C-wire connection delivers continuous 24V power. Tighten any loose wires at the terminal. If the display stays off, perform a factory reset. Finally, remove and reinstall the thermostat base to verify proper wiring.
⚡ Thermostat Shutting Off Unexpectedly
Inspect the C-wire for loose or damaged connections as interruptions in power cause shutdowns. Verify the HVAC system powers consistently without short cycles. Update thermostat software in the Nest app to fix glitches. If issues persist, reset the thermostat to default and monitor performance.
🌡️ Inaccurate Temperature Readings After Installation
Clean dust off the thermostat sensor area for accurate data. Ensure the thermostat is mounted away from heat sources or drafts. Calibrate the sensor using the Nest app by manually adjusting the temperature. Replace batteries if the thermostat uses them for sensor operations.
When to Contact Professional Support
Knowing when to seek professional help avoids further issues and ensures proper Nest thermostat function. Identify clear signs that require expert HVAC or electrical assistance, or when to reach out to Nest customer support.
🔧 Signs You Need HVAC or Electrical Help
Frequent power loss or tripped breakers indicate electrical problems beyond thermostat setup. Unusual noises from HVAC units or failure to respond after wiring checks signal HVAC issues. If testing the C-wire shows no 24V power or wiring appears damaged, call an electrician or HVAC technician immediately.
📞 Contacting Nest Customer Support
If the thermostat remains unresponsive after factory resets and wiring verification, contact Nest customer support. Use the Nest app or official website for live chat, phone support, or scheduling service visits. Provide the thermostat model number and detailed troubleshooting steps done to speed up resolution.
Tips to Prevent Nest Thermostat Power Issues
Preventing power issues ensures your Nest thermostat runs smoothly and reliably. Follow these key tips for installation and maintenance.
#️⃣ Proper Installation Best Practices
Use a level to mount the thermostat for accurate sensor readings. Confirm all wires connect firmly to the correct terminals according to the Nest installation guide. Double-check the C-wire connection to guarantee a consistent power supply. Turn off power at the breaker before handling wiring to avoid hazards. Test the system by powering on after installation to catch issues early.
🛠️ Regular Maintenance Recommendations
Inspect the thermostat wiring every 6 months for loose connections or damage. Clean the thermostat display and surrounding area to prevent dust buildup triggering sensor errors. Check the circuit breaker monthly to ensure it hasn’t tripped. Update the Nest app and thermostat firmware regularly using Wi-Fi to fix software bugs and improve performance. Reboot the thermostat periodically to reset minor glitches.
Key Takeaways
- A Nest thermostat not turning on after installation is often due to power supply issues, improper wiring, or HVAC compatibility problems, rather than device malfunction.
- Always verify circuit breakers, ensure secure and correct wiring—especially the C-wire—and confirm HVAC system compatibility before troubleshooting further.
- Performing a factory reset, reinstalling the thermostat, and checking for software updates can resolve many startup issues related to software glitches or improper setup.
- Advanced troubleshooting includes testing continuous power from the C-wire, using the Nest app for diagnostics, and inspecting for loose connections or power interruptions.
- If basic and advanced troubleshooting fail, or if there are electrical or HVAC system concerns, seek professional support or contact Nest customer service for assistance.
- Prevent power issues by following proper installation best practices, conducting regular maintenance, and keeping the thermostat firmware and app updated.
Conclusion
Getting your Nest thermostat up and running might take a few careful checks, but it’s worth the effort. With the right tools and a bit of patience, most power issues can be resolved without professional help.
If you’ve gone through the troubleshooting steps and still face problems, don’t hesitate to reach out for expert support. Taking preventive measures and regular maintenance will keep your thermostat working smoothly for years to come.