Multimeters are essential tools for measuring voltage, current, resistance, and more.
🎯 But how do you know if your multimeter is giving accurate readings?
Whether you’re a hobbyist, technician, or engineer, ensuring your multimeter’s accuracy is key to reliable diagnostics and safe measurements. In this article, we’ll walk through how to test your multimeter’s accuracy using easy-to-find tools and reference values.
🧭 What Does “Accuracy” Mean in a Multimeter?
Accuracy in a multimeter is how close the measured value is to the true or expected value. All meters have a margin of error – typically shown as a percentage, like ±0.5% + 2 digits.
For example, a reading of 5.00V with ±0.5% + 2 digits could be anywhere between 4.95V and 5.07V, depending on the display resolution.
✅ Tools You’ll Need
To check multimeter accuracy, you’ll need:
- A reference voltage source (e.g. 1.5V AA battery, 9V battery, or voltage calibrator)
- Known resistors with precise values (1%, 0.1%, or certified)
- Another trusted multimeter for cross-checking (optional but helpful)
🔋 Step 1: Check DC Voltage Accuracy
✅ Method:
- Use a fresh 1.5V AA battery or 9V battery
- Set your multimeter to DC voltage mode
- Measure the voltage between the battery terminals
🔍 Expected Result:
- A new 1.5V battery should read between 1.55V and 1.65V
- A 9V battery should read around 9.4V–9.6V if fresh
Compare this to the rated voltage and see if your multimeter falls within the expected accuracy range.
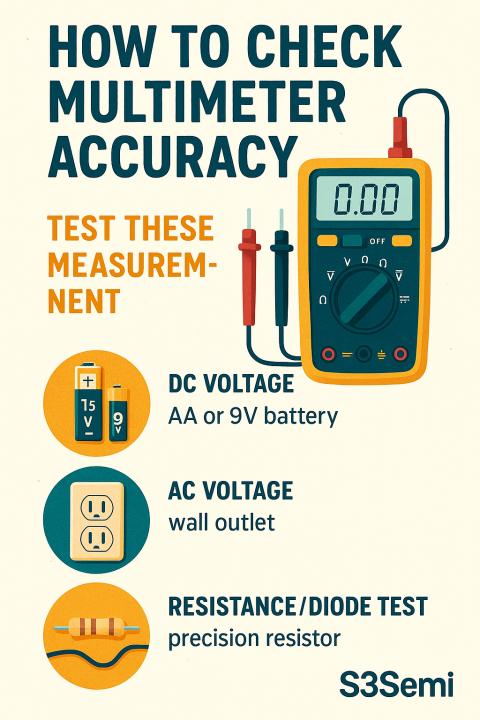
⚡ Step 2: Check AC Voltage Accuracy
✅ Method:
- Set your meter to AC voltage mode
- Measure a standard AC wall outlet (carefully!)
- In North America: Expect around 120V RMS
- In most of Europe: Expect around 230V RMS
Compare your reading to the known utility voltage in your region. A variance of ±1–2% is usually acceptable.

🧪 Step 3: Check Resistance Accuracy
✅ Method:
- Use a known precision resistor (e.g., 1kΩ with 1% tolerance)
- Set the multimeter to Ω mode
- Measure the resistor and compare the reading
🧠 Tip:
- A 1kΩ ±1% resistor should read between 990Ω and 1010Ω
The closer your reading is to the actual value, the better the accuracy.
🔌 Step 4: Check Continuity & Diode Test Functions
These are more of a functionality test than an accuracy test.
✅ Method:
- Use a known-good wire for continuity
- Test a silicon diode and check for a forward voltage drop around 0.6V–0.7V
If these features respond as expected, they’re functioning correctly.
🔍 Optional: Compare with a Calibrated Multimeter
If you have access to a lab-calibrated meter, compare the same voltage, current, and resistance values side by side.
This is a great way to see how close your multimeter tracks to a certified standard.
🧰 Calibration vs. Accuracy Check
- Checking accuracy = DIY comparison to known values
- Calibration = Adjustment using specialized equipment (usually done by professionals)
If your multimeter is out of spec, you may want to send it for professional calibration – especially for commercial or laboratory use.
📋 Accuracy Testing Summary
| Test | What to Use | Expected Value |
|---|---|---|
| DC Voltage | AA or 9V battery | 1.5V or 9.6V (fresh battery) |
| AC Voltage | Wall outlet | 120V or 230V (region dependent) |
| Resistance | Precision resistor | Within labeled tolerance |
| Continuity/Diode | Known wire / Diode | 0Ω / 0.6–0.7V drop |
✅ Final Thoughts
Checking your multimeter’s accuracy doesn’t require fancy equipment — just a few known values and careful measurement. For most users, this basic check is enough to ensure your multimeter is reliable and trustworthy for everyday use.
If you’re using it in critical applications, consider getting it professionally calibrated once a year.
